LIBRARY BLOG
3D Model Making with Tinkercad : Personalized Phone Charger Tag
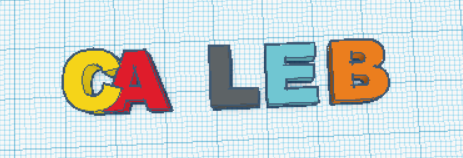
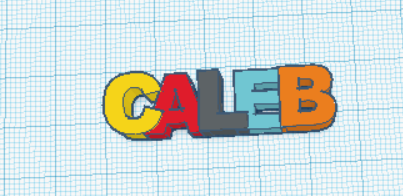
With 3D printing, it is possible to create an 3D object on a computer and have it printed out with a 3D printer. While 3D printing may seem easier said than done, the process of creating a 3D file online can seem intimidating, and, without knowing the program, may seem impossible to create a 3D model. However, this is much easier than one would think. Today, this blog will show you how to make a name to put over your phone wire as such.
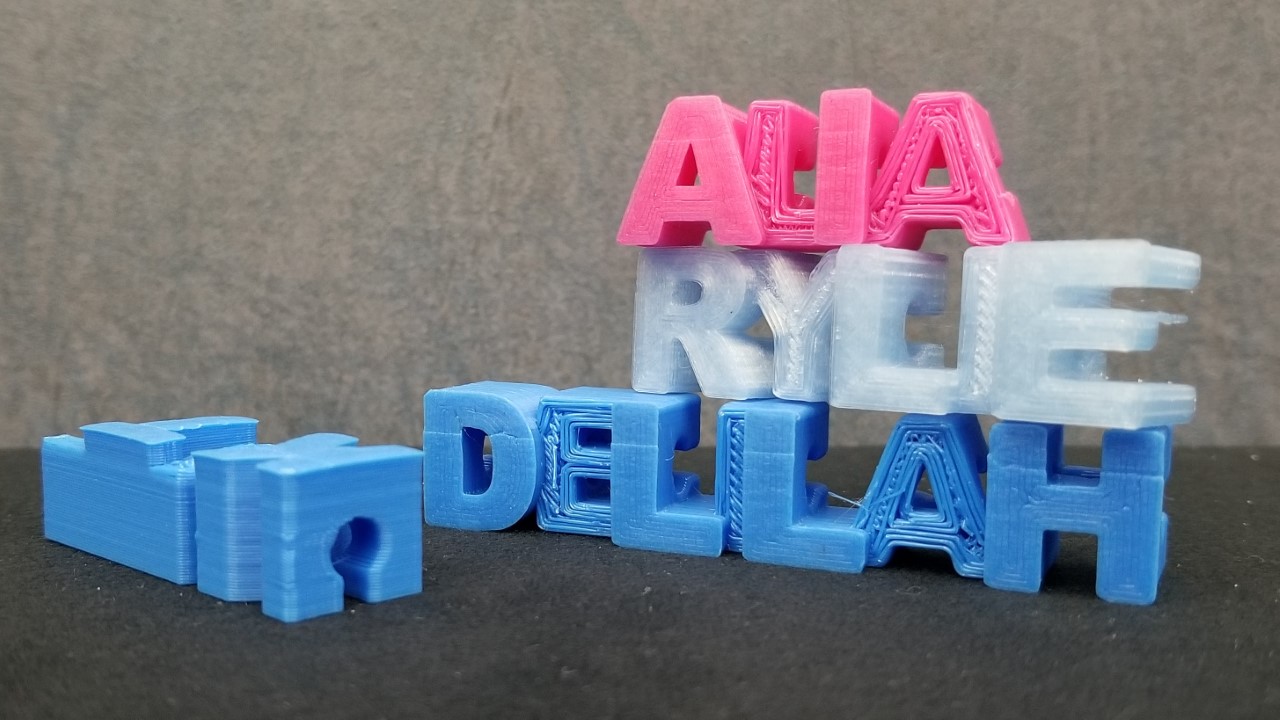
For this creation, we will be using Tinkercad to create a 3D model which can be printed afterward here at the Terrebonne Parish Library.
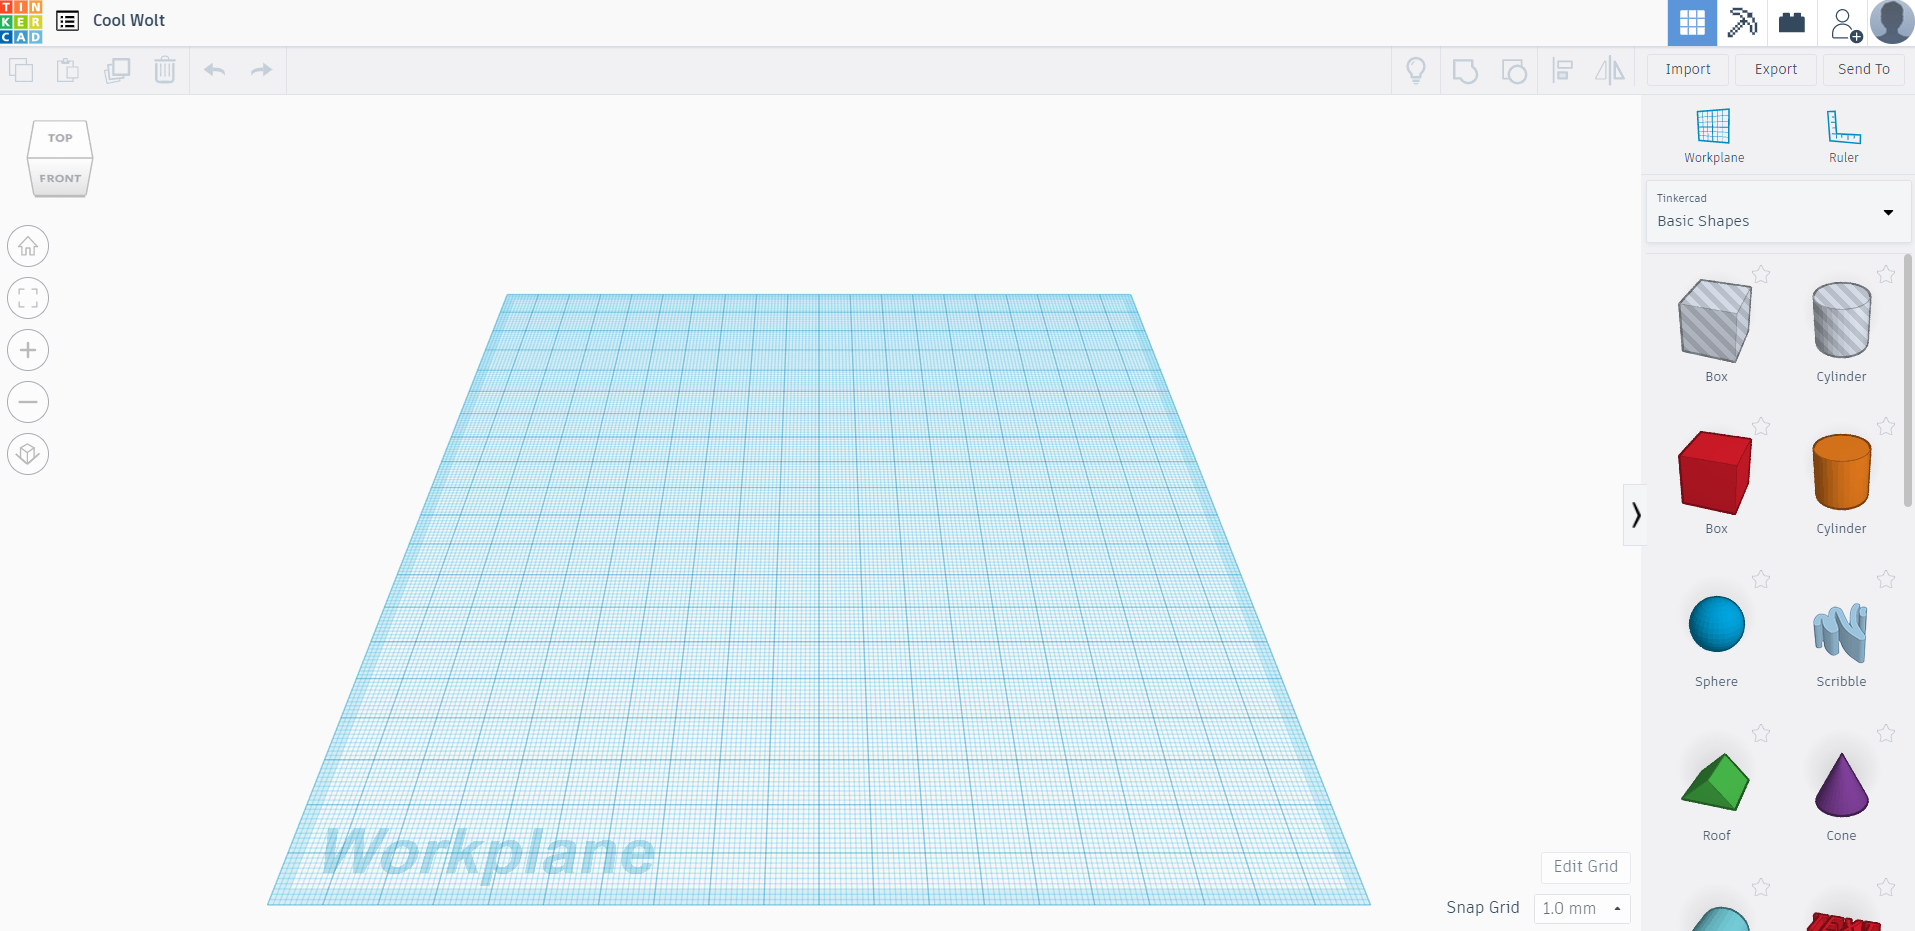
Once you create a free account, you then need to click “Create New Design” to get to an empty build plate as such as shown below.
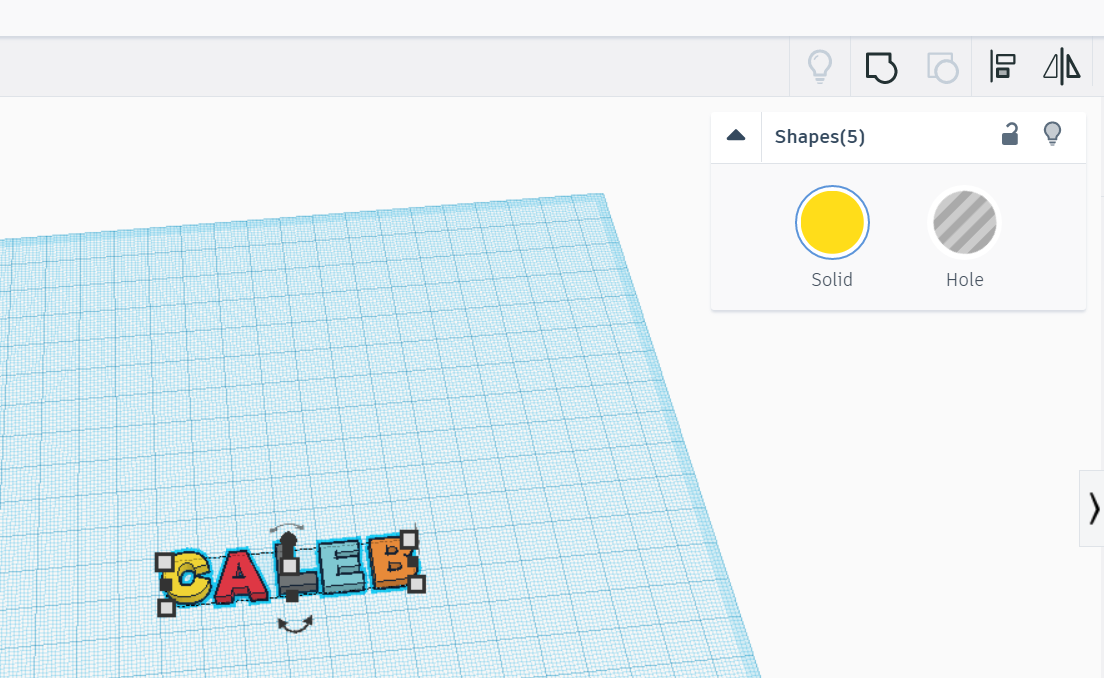
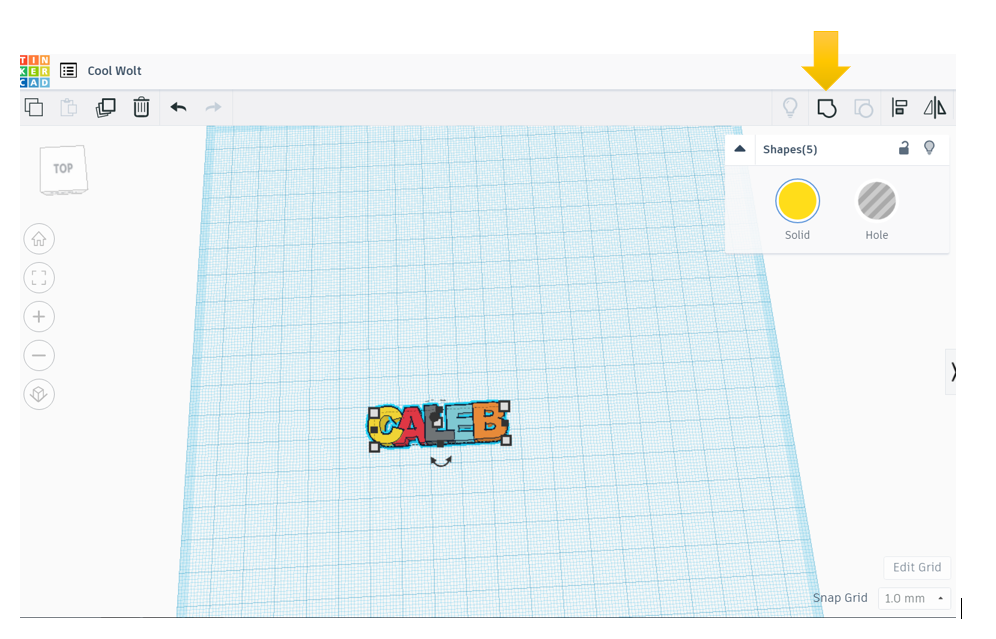
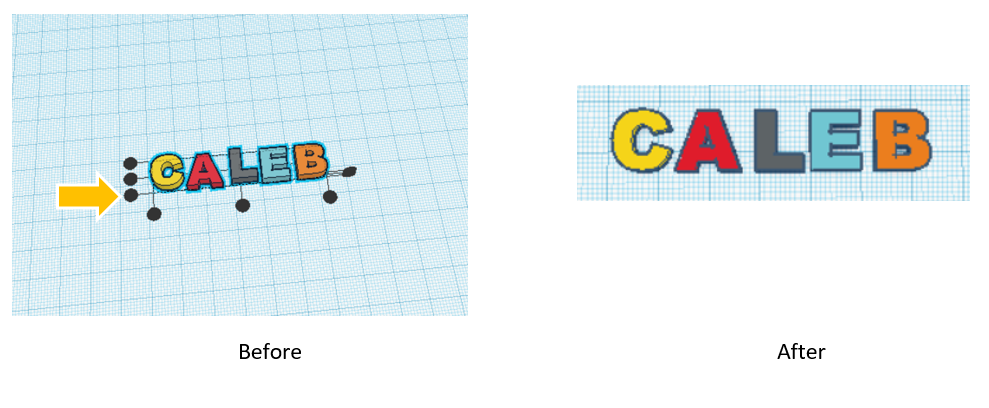
After the name is spelled out, you will then left click and drag a box over to select all the letters at once. Once all of them are selected, click the button to the upper right of the screen as shown below. This will allow us to make all the letters even.
Clicking on this box will put dots on the letters. Clicking these dots will even out the letters to one side or another. For our project, we will be clicking on the lowest dot on the bottom left hand side of our model. This will even out our letters.
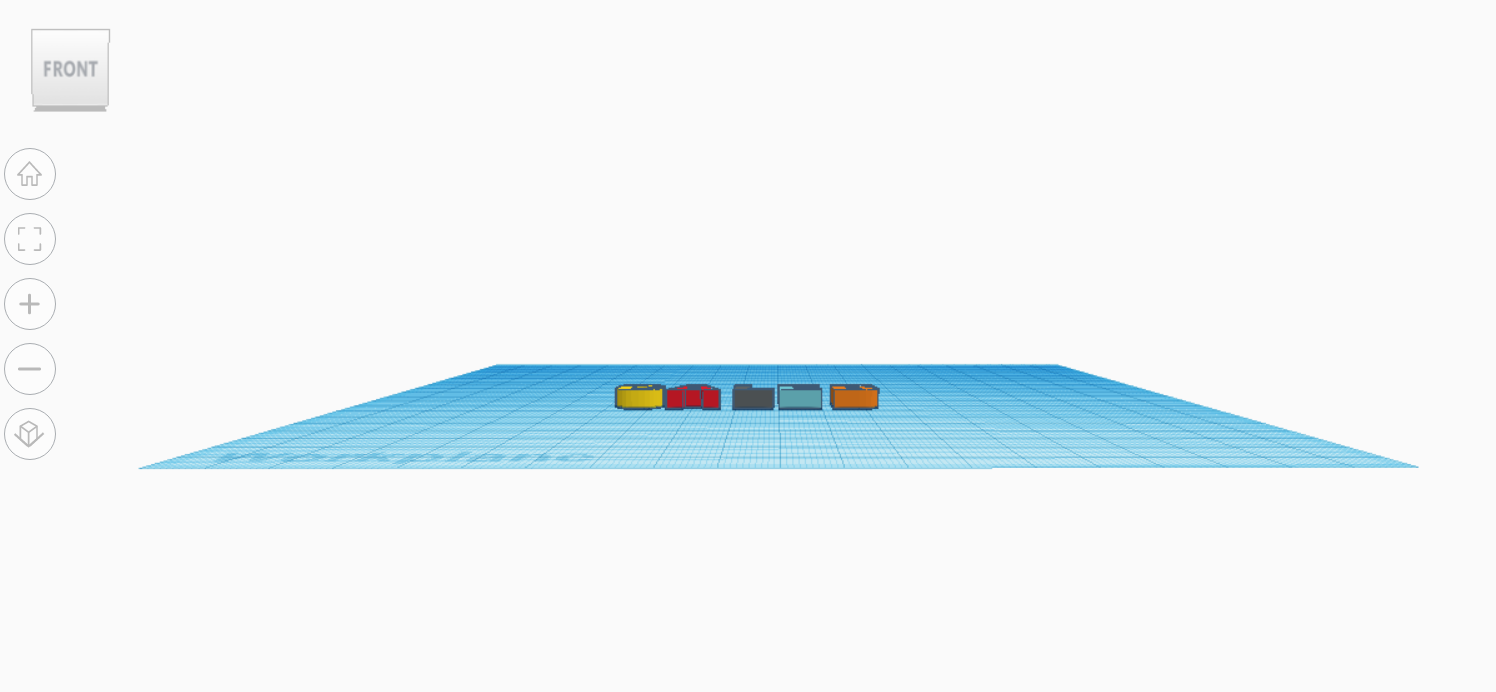
Next, we are going to make sure the model is tall enough to fit the hole we need to put on our wire. Holding the right mouse button on the Workplane as well as clicking the box on the upper left hand corner allows us to rotate the Workplane freely. You want to now rotate the Workplane to where the angle is as such.
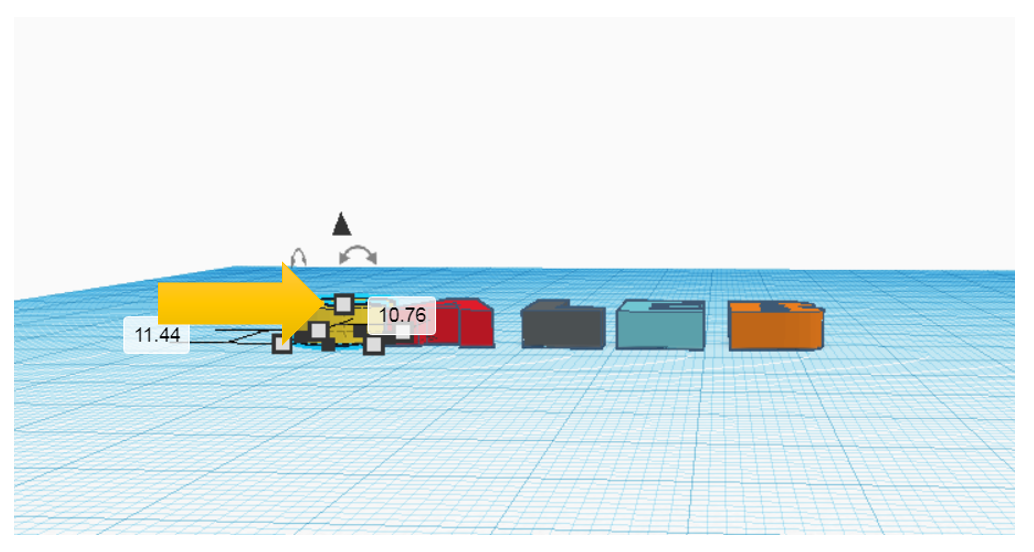
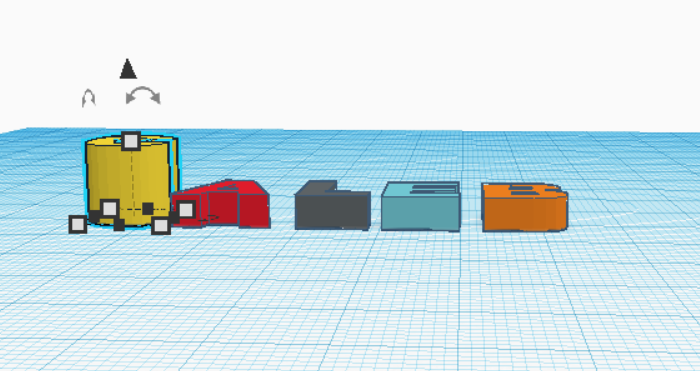
From here, we are going to change the height of the letters in alternate order of 10 and 8. So for the letters here, we want the letters C, L, and B to be 10 units high and the letters A and E to be 8 units high. By clicking the individual letters, you can adjust the size of the letter by clicking the gray boxes that show up when clicking the model. At this angle, we want to click, hold, and drag the upper gray box to make the letters the suggested height as shown below. The units will be displayed while moving the letter.
Before:
After one letter:
After the whole name:
Just a friendly reminder: in case you make a mistake in your model, you can always click the back arrow at the upper left hand side of your screen to go back.
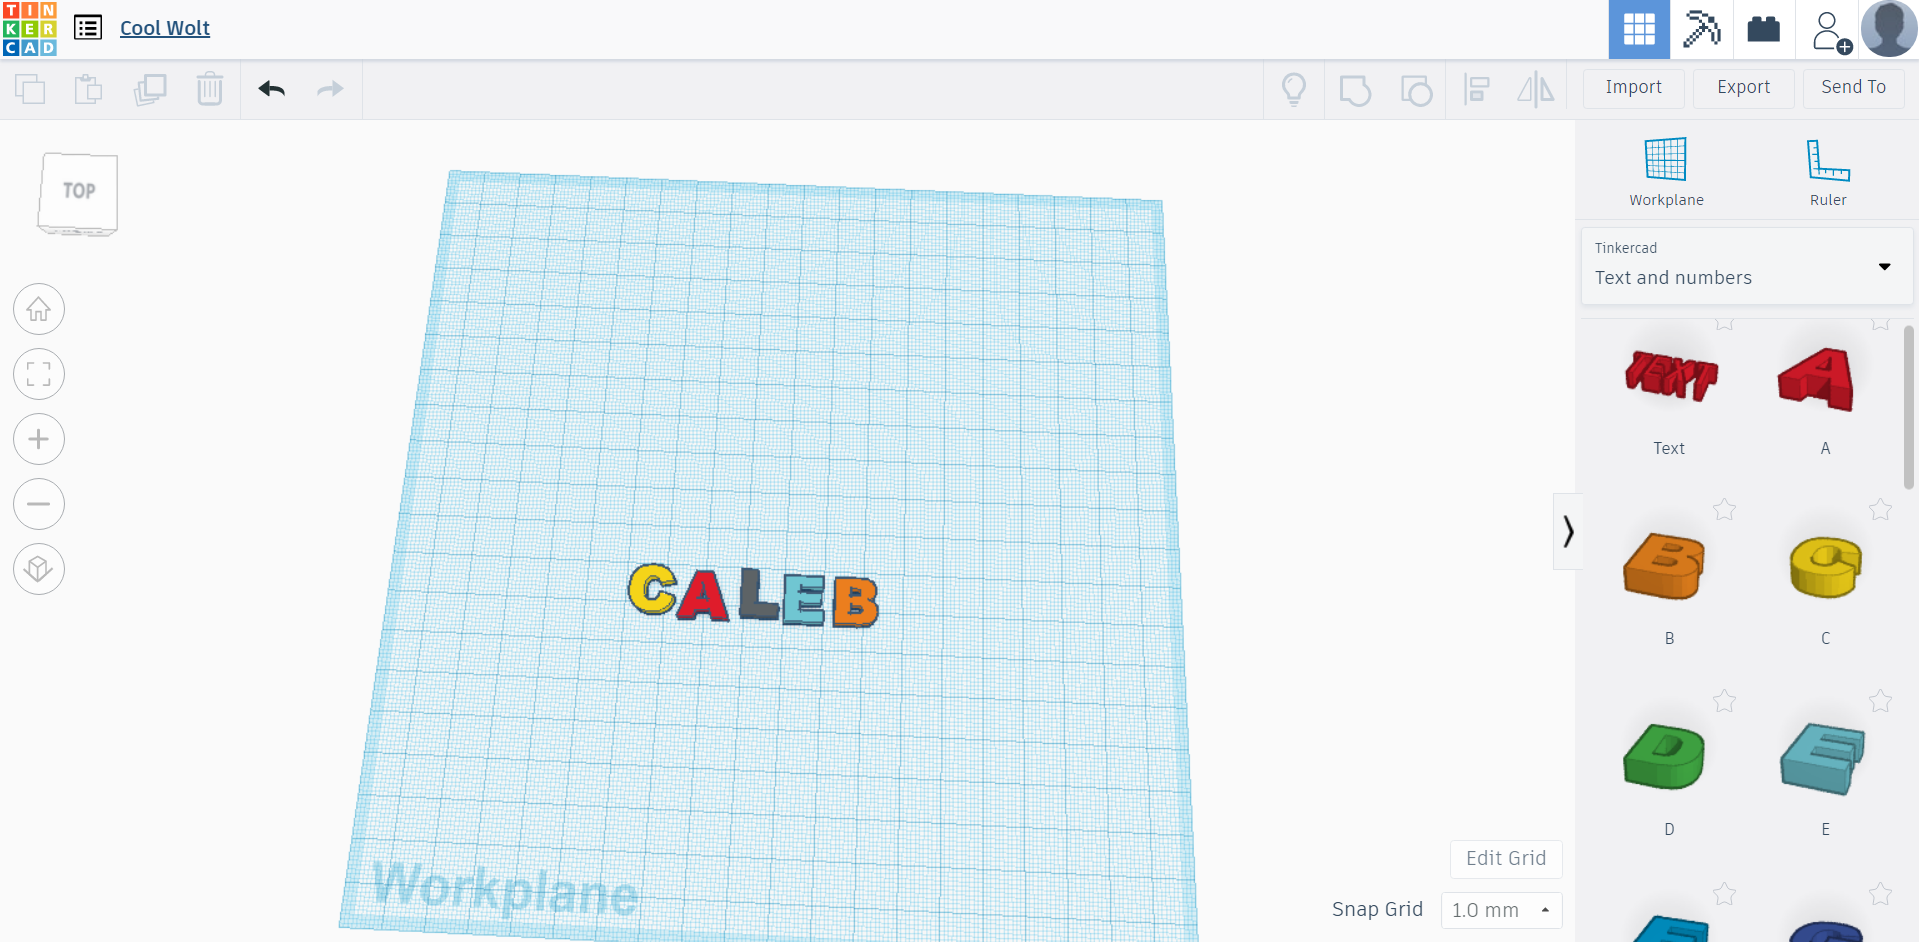
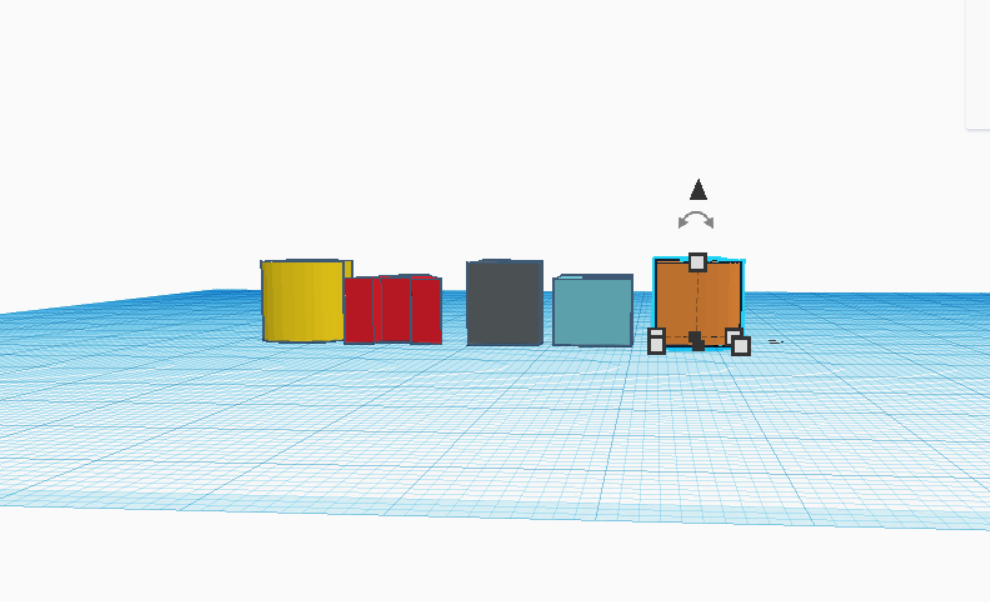
After you adjust the height of the model as shown above, you then want to shift the screen back into the top down as shown in the beginning of this process as shown below. Now, we need to make sure the letters overlap so when the model is printed, it comes out as one piece. While looking at the model from the top-down, start with the second letter by clicking it and move it to the left with the arrow keys until there is a small amount of overlap between the two letters. Because the letters are of alternating heights, the letters will stand apart from each other despite overlapping each other.
Small bit of overlap with C and A:
The entire name overlapped into one piece:
Now, we are going to take our new pieces by selecting the whole name at once as done before and then fusing them into one big piece. After selecting all the letters at once click the button of the square connecting to a circular piece as shown below. This will fuse all of the letters into one piece.
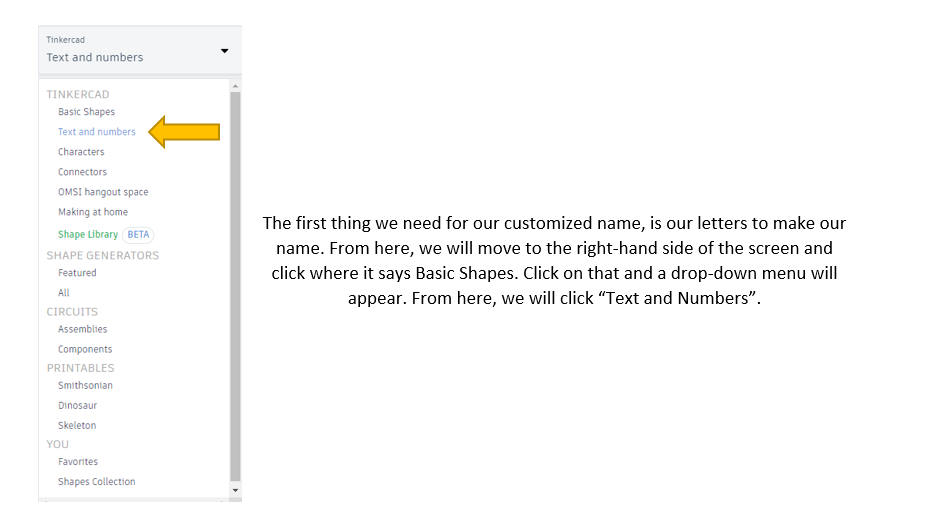
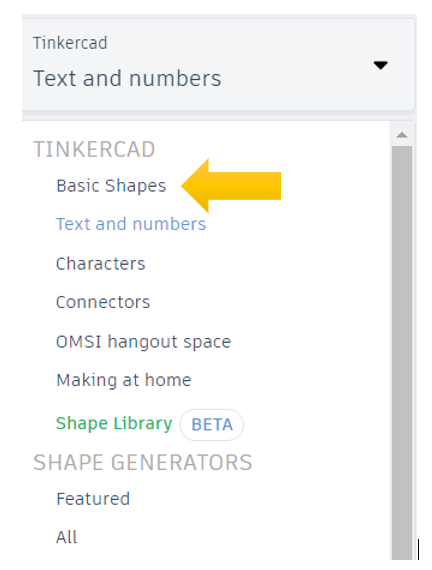
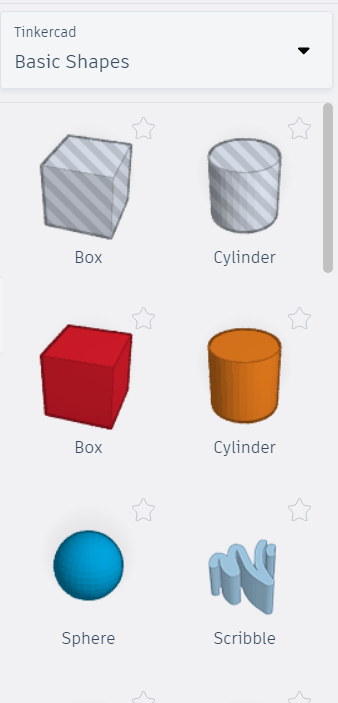
Now that we have this entire model in one piece, it’s time to make the space where the wire is going to go through. For that, we need an opening and a circular hole for your wire to sit in. For this, we create another shape and we set it to hole for when we save the file, the hole will erase any objects inside of it. Just as we did before, we will click the drop down menu to open up where it says basic shapes.
From here, we will drag the gray box with the stripes on it to the Workspace.
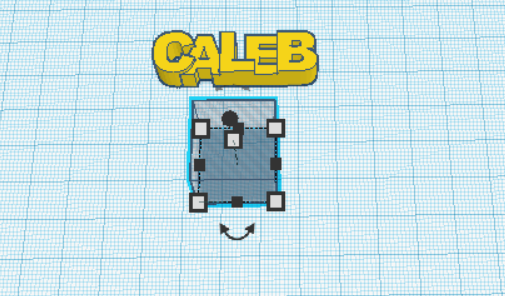
Now you should have a block that looks like this:
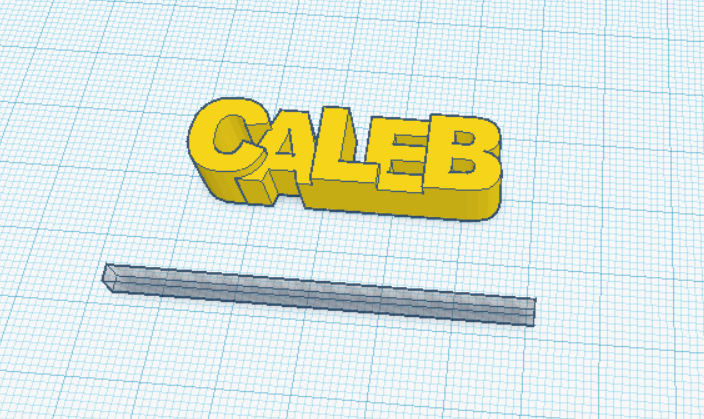
We can tell now that this box is too large, so now we have to adjust the square to fit the wire. By rotating the Workplane and licking the grey boxes on the box, we can adjust the dimensions of the empty space. For most wires, we want these specifications for the opening.
Length: 2 units
Width: As long as the name plus some.
Height: 4 Units
You should get a box that looks somewhat like this:
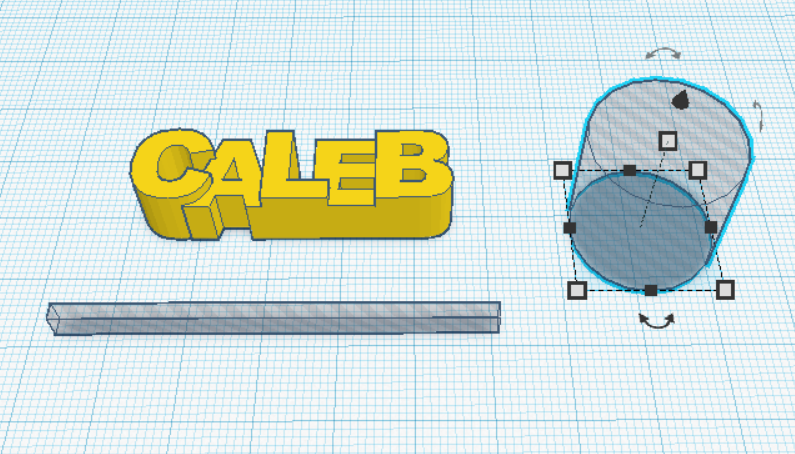
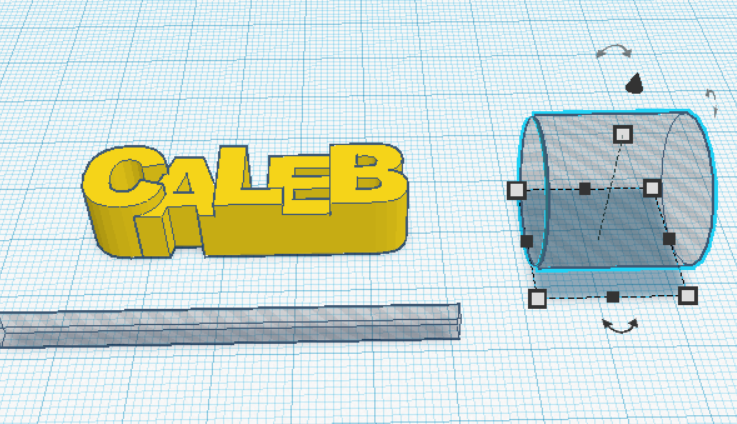
Now we have to make room for the wire. We will do the same thing as the box this time, but now we will use a cylinder hole. This basic shape can be found to the left of the gray square. Once you drop it in, you will notice that the cylinder is too big and is facing the wrong way. First, we will adjust the cylinder’s position by clicking and holding the curvy arrow above the cylinder to adjust it by 90 degrees.
When done correctly, the cylinder should be on its side as such:
Now we need to adjust the cylinder to this size the same way we adjusted the size of the square.
Length: 4 units
Width: Same as the square.
Height: 4 Units
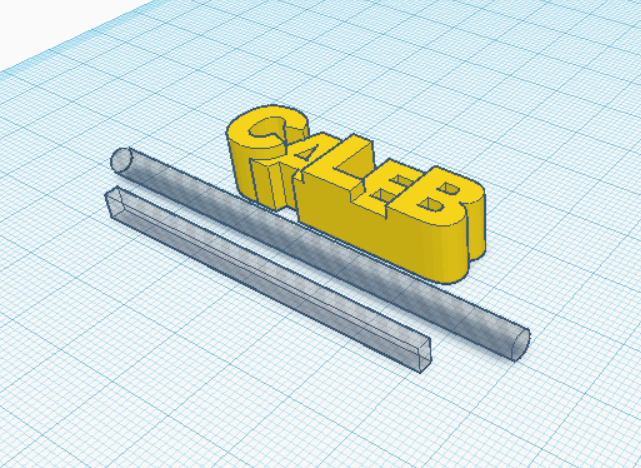
To get a rough idea, your shapes should be looking something like this now:
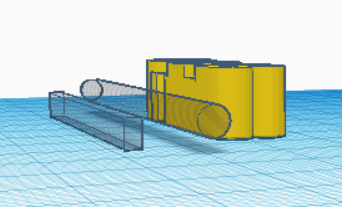
Now we are going to lift the cylinder up and move it over the square to create a hey-shaped hole to fit and hold your wire. To start, click the cylinder and then click and hold the dark gray cone on top of the cylinder and drag it up until the cylinder is 2 units above the base of the work plane. If you have a hard time finding it, try adjusting the angle of the work plane until you see it. The model should now look as such:
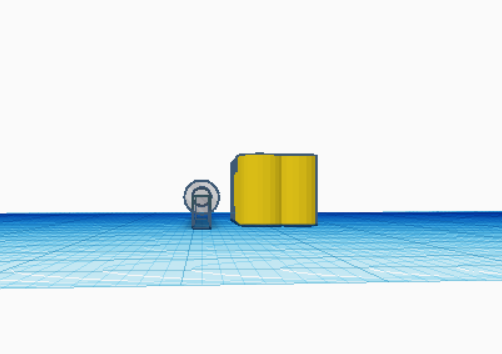
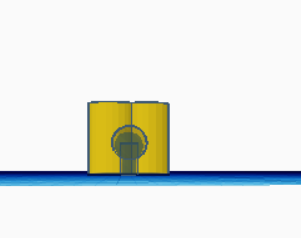
Now you should click the square model and move it with the arrow keys until it is directly under and overlapping the cylinder as such, creating a key hole shape.
Front View:
Side View:
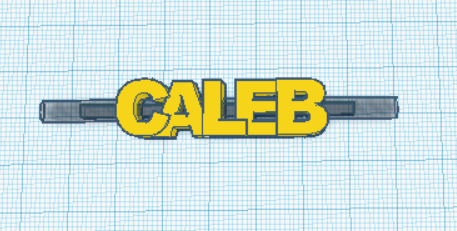
Now, we must move the name on top of the model where the keyhole runs centered through the middle of the model. It is recommended to use the side view to move the name using the arrow keys to get the name as centered as possible. The model should look as such.
Side View:
Top View:
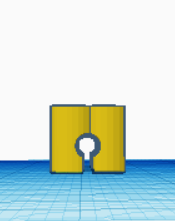
Now, the last thing to do is to fuse them all into one model. Select all the models by dragging a box around all of them and hit the Group button (or Ctrl +G) to fuse the models together. The final product from the side should look like it has a key-shaped hole inside as such:
To save this file as an OBJ. file to print, click the export button at the top right hand corner of the screen and then select download and then click obj.:
From here, you can take this model and send it to the Terrebonne Parish Library to get it printed at
However, there are some special instructions needed when printing this model. Make sure you ask to have the model printed at 150% of its original size, make sure you check off the “Add supports” box, and to make sure to say to print this model with the key hole facing up.
This concludes the Tinkercad Tutorial. We hope to see your created models printed at the Terrebonne Parish Library!
Caleb, Reference Department

